How to build an MCP voice agent with OpenAI and LiveKit Agents
Learn how to build a voice agent with OpenAI and LiveKit that uses Supabase's MCP server


LiveKit is a powerful open-source platform for building real-time audio and video applications. Building upon WebRTC, it simplifies the complexities of real-time communication. Recently, LiveKit introduced the Agents Framework, enabling developers to integrate AI agents directly into their real-time sessions. These agents can process media streams, interact with external services, and add sophisticated AI capabilities to applications.
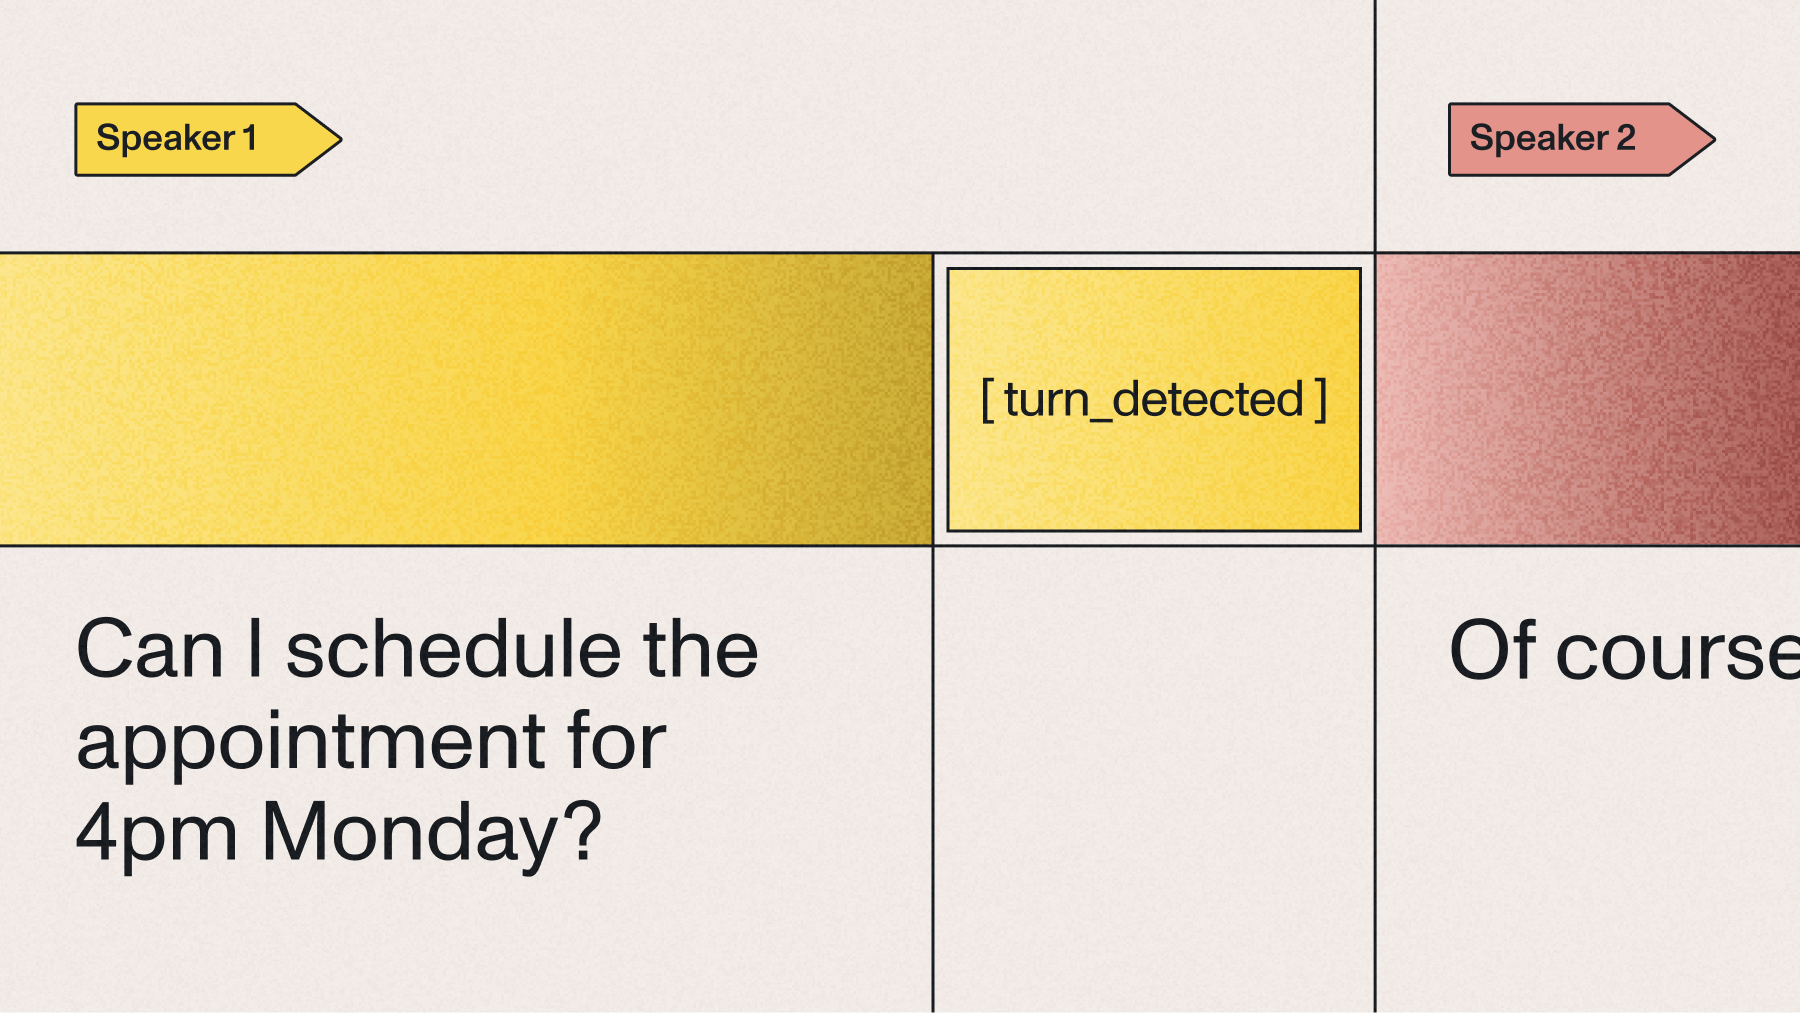
One exciting use-case of LiveKit Agents is building voice agents – autonomous systems that interact with users through natural language conversation. These agents typically follow a Speech-to-Text (STT) -> Large Language Model (LLM) -> Text-to-Speech (TTS) pipeline to understand user input, determine an appropriate response or action, and communicate back verbally.
In a previous post, we explored how to integrate real-time Speech-to-Text into a LiveKit application using AssemblyAI. Now, we'll take it a step further and build a complete voice agent that leverages:
- LiveKit Agents: For the real-time infrastructure and agent framework.
- AssemblyAI: For fast and accurate real-time Speech-to-Text.
- OpenAI: For powerful language understanding and generation (LLM).
- (Optional) TTS service (e.g., Silero, OpenAI TTS): To give the agent a voice.
We'll cover setting up the project, processing audio streams, interacting with an LLM using LiveKit's function calling capabilities (built upon the Model Context Protocol), and triggering actions based on the conversation.
You can find the code for this tutorial in the project repository on GitHub.
Prerequisites
Before we start, make sure you have the following:
- Python: Version 3.9 or later recommended
- LiveKit Account: Sign up at livekit.io (Cloud account is free for small projects).
- AssemblyAI API Key: Get one from the AssemblyAI dashboard. Note that Streaming STT requires adding a payment method.
- OpenAI API Key: Get one from the OpenAI platform.
- Basic understanding of LiveKit: Familiarity with concepts like Rooms, Participants, and Tracks will be helpful (take a look at our previous post or LiveKit Docs).
Setting up the Project
Building a LiveKit application with an agent involves three main components:
- LiveKit Server: The central hub managing real-time connections and data flow.
- Frontend Application: The user interface for interaction.
- AI Agent: The backend process performing the STT, LLM, and TTS tasks.
For the server and frontend, we can reuse the setup from our previous STT tutorial using LiveKit Cloud and the LiveKit Agents Playground.
1. Set up LiveKit Cloud:
Follow Step 1 in our previous article to create a LiveKit Cloud project. You can name your project voice-agent. Then create a project directory, and then add a .env file to store your LIVEKIT_URL, LIVEKIT_API_KEY, and LIVEKIT_API_SECRET.
# .env
LIVEKIT_URL=wss://YOUR_PROJECT_URL.livekit.cloud
LIVEKIT_API_KEY=YOUR_API_KEY
LIVEKIT_API_SECRET=YOUR_API_SECRET
2. Add API Keys to .env:
Add your AssemblyAI and OpenAI API keys to the .env file.
# .env
# ... (LiveKit keys)
ASSEMBLYAI_API_KEY=YOUR_ASSEMBLYAI_KEY
OPENAI_API_KEY=YOUR_OPENAI_KEY
Remember to keep your .env file secure and out of version control.
3. Set up a Python Environment:
Create and activate a virtual environment:
# 1. Create a virtual environment
python3 -m venv venv

# 2. Activate it
# Mac/Linux
source venv/bin/activate

# Windows
# .\venv\Scripts\activate.bat

# 3. Install your packages inside the venv
pip install livekit-agents livekit-plugins-assemblyai livekit-plugins-openai livekit-plugins-silero python-dotenv "pydantic-ai-slim[openai,mcp]"
4. Use the Agents Playground:
Navigate to agents-playground.livekit.io and connect it to your LiveKit Cloud project as shown in Step 2 of our previous guide. This hosted web app serves as our frontend of our voice agent application.
With the basic setup complete, we can now focus on building the core logic of our voice agent.
Building Your Voice Agent
Let's dive into creating a voice agent that can listen to a user's speech, understand it, respond naturally, and even perform actions based on the conversation.
How it Works
Our voice agent follows a straightforward but powerful pipeline, known as a cascading voice agent architecture:
- Speech-to-Text (STT): The user's spoken words are transcribed into text using a service like AssemblyAI.
- Language Understanding (LLM): The transcribed text is processed by a Large Language Model (like OpenAI's gpt-4o) to understand the user's intent, execute actions based on this intent, and determine how to respond.
- Text-to-Speech (TTS): Finally, the LLM's response is converted back into speech using a TTS service, giving our agent a natural voice.
This modular setup lets you easily plug in different AI services and customize the agent's behavior.
Speech-to-Speech pipelines involving models like gpt-4o-audio offer an alternative method of building voice agents with faster responses, but they are less customizable, less flexible, and harder to implement error handling for given their black-box nature.
Declaring the Voice Agent
Let's see how we define such a cascading pipeline using LiveKit's agent framework. Below is a minimal example for a functional LiveKit voice agent. Copy the code into a file called agent.py in your project directory, and then continue reading for an explanation of what's going on in the code:
from livekit.agents import Agent, AgentSession, JobContext, WorkerOptions, cli
from livekit.plugins import assemblyai, openai


from dotenv import load_dotenv
load_dotenv() # Load the environment variables from the .env file


async def entrypoint(ctx: JobContext):
   await ctx.connect()
   agent = Agent(
       instructions="You are a friendly voice assistant",  # Instructions define the agent's personality or behavior
   )


   session = AgentSession(
       stt=assemblyai.STT(),  # The STT component handles real-time transcription from speech to text
       llm=openai.LLM(model="gpt-4o"),  # An LLM processes the text to understand and generate responses
       tts=openai.TTS(),  # The TTS component gives the agent a natural-sounding voice
   )


   await session.start(agent=agent, room=ctx.room)  # Connects the agent to the LiveKit room to start interaction
   await session.generate_reply(instructions="Greet the user and ask them about their day")  # Initial greeting and prompt to the user


if __name__ == "__main__":
   cli.run_app(WorkerOptions(entrypoint_fnc=entrypoint))
As you can see, this setup is lightweight and flexible, leveraging LiveKit's new Agents v1.0 release. In the AgentSession initialization, we specify the providers to use for each of the three fundamental components of the cascading model. LiveKit Agents provides a general abstract framework to connect together the basic elements of AI agents, in this case STT, LLM, and TTS. Each of these abstract interfaces offers several plugins, which are concrete implementations for a given provider. In our case, we are using AssemblyAI's Streaming model for STT and OpenAI for LLM and TTS capabilities, but the abstract interfaces provided by LiveKits Agent's framework allow you to easily mix and match these elements together, and easily implement things like fallbacks.
Let's take a closer look at what's going on in this minimal example.
Decomposing the Minimal Example
The entrypoint function is the main entry point for our LiveKit agent. It serves as the central coordinator that:
- Connects to the LiveKit room using
ctx.connect(). - Initializes the
Agentand attaches it to theAgentSession. - Starts the session, allowing the agent to interact with users in real-time.
The `Agent` class defines the capabilities and behavior of your voice assistant. Think of it as the "brain" that determines how the agent will interpret and respond to user inputs. You can configure it with specific instructions and equip it with tools that enable particular actions or skills.
The AgentSession class manages the real-time interaction between your agent and the LiveKit room. It orchestrates the flow of information between users and agents, handling the streaming audio processing and response generation.
When the session starts with session.start(agent=agent, room=ctx.room), your agent connects to the LiveKit room and begins listening for user input. The session.generate_reply() method allows your agent to take the initiative, greeting users as soon as they connect rather than waiting for them to speak first.
While our initial code example is intentionally minimal, each component offers numerous configuration options to enhance your agent's performance. You can customize voices, select specific AI models, or even swap out entire components with alternative providers.
One powerful addition is Voice Activity Detection (VAD), which optimizes your agent by only processing audio when someone is actually speaking. This not only improves response time but also reduces costs by avoiding unnecessary transcription of silence or background noise:
from livekit.plugins import silero


session = AgentSession(
       vad=silero.VAD.load(min_silence_duration = 0.1),  # Adds a VAD component to the pipeline
       stt=assemblyai.STT(),
       llm=openai.LLM(model="gpt-4o-mini", temperature = 0.5),  # You can easily switch to a smaller model
       tts=openai.TTS(voice="alloy")  # Specify a particular voice
   )
To run the code in agent.py, make sure your virtual environment is active and then run the agent with LiveKit in development mode
python agent.py devAt this point, you'll have a fully functional voice agent capable of natural conversation. You can talk with it in the LiveKit Agents Playground. While it can already engage in dialogue, it doesn't yet perform specific actions or tasks. Let's address that next by adding function calling capabilities.
MCP and The Power of Function Calling
Function calling allows your agent to leverage external tools to complete specific tasks that go beyond simple conversation. When the user says something like "Book a meeting with Sarah for tomorrow at 2 PM," your agent understands that it needs to use a calendar booking tool, extract the relevant parameters (who, when), and execute the action.
Without tools, an agent's capabilities remain limited to its pre-trained knowledge and conversational skills. With tools, your agent becomes truly useful. It gets the ability to check databases, call APIs, control devices, or perform any programmatic action you enable.
Traditionally, developers define the logic behind these tools, specifying how AI models interact with external services. The Model Context Protocol (MCP), introduced by Anthropic, shifts this responsibility from developers to service providers. MCP offers an open, standardized method for external services to define their interactions with language models. This simplifies integration and ensures consistent tool usage.
In our voice agent application, MCP will ensure the model can effectively select the appropriate external tool, formulate structured requests, and handle responses seamlessly.
Supabase and MCP
MCP is rapidly gaining traction across the AI industry and major tech corps like Microsoft and OpenAI have shown strong support for it. Many companies are rapidly building their own MCP servers to allow language models to interact directly with their services.
Supabase, the popular open-source Firebase alternative, recently launched their own official MCP server implementation. This makes their powerful database and authentication services directly available to AI agents through a standardized interface.
Here are some examples of what you can ask your agent to do via Supabase MCP:
Query data with natural language: "Show me all customers who signed up in the last month and have spent over $100." The agent translates this to SQL and uses execute_sql to retrieve the filtered data.
Create or modify database structures: "Create a new table called 'products' with columns for ID, name, price, and inventory count." The agent generates the appropriate SQL schema and uses apply_migration to track this change.
Analyze database information: "What tables do we have in the 'public' schema, and what are their column structures?" The agent uses list_tables to retrieve schema information and presents it in a readable format.
Manage database extensions: "Enable the PostGIS extension so we can store geospatial data." The agent checks available extensions with list_extensions and applies the necessary changes.
All these capabilities become available without having to build custom integrations for each AI service you might use.
Equipping Our Voice Agent with Supabase Tools
Let's enhance our agent by connecting it to Supabase's MCP server.
First, you'll need a Supabase account and access token. If you don't have one yet, sign up for Supabase and create a new project for free. Then you can create an access token here.
Add your Supabase access token to your .env file:
# .env
# ... existing variables
SUPABASE_ACCESS_TOKEN=your_access_token_here
Now, let's enhance our agent code to integrate Supabase's MCP server and expose its powerful database tools to our voice assistant. Below is the complete implementation, which we'll then break down and explain in detail:
from __future__ import annotations
import json, os, inspect
from typing import Any, List, Callable, Optional, get_origin


from livekit.agents import (
   Agent,
   AgentSession,
   JobContext,
   RunContext,
   WorkerOptions,
   cli,
   function_tool,
)
from livekit.plugins import assemblyai, openai, silero
from pydantic_ai.mcp import MCPServerStdio


from dotenv import load_dotenv


load_dotenv()


def _py_type(schema: dict) -> Any:
   """Return typing annotation preserving element type for arrays."""
   t = schema.get("type")
   type_map = {"string": str, "integer": int, "number": float, "boolean": bool, "object": dict}


   if t in type_map:
       return type_map[t]
   if t == "array":
       return List[_py_type(schema.get("items", {}))]
   return Any


def schema_to_google_docstring(description: str, schema: dict) -> str:
   """
   Generate a Google‑style docstring Args section from a description and a JSON schema.
   """
   props = schema["properties"]
   required = set(schema.get("required", []))
   lines = [description, "Args:"]
   for name, prop in props.items():
       # map JSON‐Schema types to Python
       t = prop["type"]
       if t == "array":
           item_t = prop["items"]["type"]
           py_type = f"List[{item_t.capitalize()}]"
       else:
           py_type = t.capitalize()
       if name not in required:
           py_type = f"Optional[{py_type}]"
       desc = prop.get("description", "")
       lines.append(f"    {name} ({py_type}): {desc}")
   return "\n".join(lines)


async def build_livekit_tools(server) -> List[Callable]:
   """
   Turns every MCP ToolDefinition into a LiveKit function_tool
   """
   tools: List[Callable] = []


   for td in await server.list_tools():
       props = td.parameters_json_schema.get("properties", {})
       required = set(td.parameters_json_schema.get("required", []))


       # capture *all* per‑tool data in default‑arg positions
       def make_proxy(tool_def=td, _props=props, _required=required):
           async def proxy(context: RunContext, **kwargs):
               result = await server.call_tool(tool_def.name, arguments=(kwargs or None))
               txt = result.content[0].text
               try:
                   return json.loads(txt)
               except Exception:
                   return txt


           # clean signature so LiveKit/OpenAI introspection works
           sig_params = [
               inspect.Parameter(
                   "context",
                   inspect.Parameter.POSITIONAL_OR_KEYWORD,
                   annotation=RunContext,
               )
           ]
           ann = {"context": RunContext}
           for name, schema in _props.items():
               sig_params.append(
                   inspect.Parameter(
                       name,
                       inspect.Parameter.KEYWORD_ONLY,
                       annotation=_py_type(schema),
                       default=inspect._empty if name in _required else None,
                   )
               )
               ann[name] = _py_type(schema)


           proxy.__signature__ = inspect.Signature(sig_params)
           proxy.__annotations__ = ann
           proxy.__name__ = tool_def.name
           proxy.__doc__ = schema_to_google_docstring(tool_def.description or "", tool_def.parameters_json_schema)
           return function_tool(proxy)


       tools.append(make_proxy())  # factory runs with frozen variables


   return tools


async def entrypoint(ctx: JobContext):
   await ctx.connect()


   server = MCPServerStdio(
       "npx",
       args=[
           "-y",
           "@supabase/mcp-server-supabase@latest",
           "--access-token",
           os.environ["SUPABASE_ACCESS_TOKEN"],
       ],
   )


   await server.__aenter__()


   livekit_tools = await build_livekit_tools(server)
   agent = Agent(
       instructions="You are a friendly voice assistant specialized in interacting with Supabase databases.",
       tools=livekit_tools,
   )


   session = AgentSession(
       vad=silero.VAD.load(min_silence_duration=0.1),
       stt=assemblyai.STT(),
       llm=openai.LLM(model="gpt-4o"),
       tts=openai.TTS(voice="ash"),
   )


   await session.start(agent=agent, room=ctx.room)
   await session.generate_reply(instructions="Greet the user and offer to help them with their data in Supabase")


   @ctx.add_shutdown_callback
   async def on_shutdown(ctx: JobContext):
       await server.__aexit__(None, None, None)
       print("Shutting down MCP server")


if __name__ == "__main__":
   cli.run_app(WorkerOptions(entrypoint_fnc=entrypoint))
Understanding the Enhanced Code
Let's break down what we've added:
1. MCP Server Initialization
server = MCPServerStdio(
   "npx",
   args=[
       "-y",
       "@supabase/mcp-server-supabase@latest",
       "--access-token",
       os.environ["SUPABASE_ACCESS_TOKEN"],
   ],
)
This code, in the Agent's entrypoint, launches a local instance of Supabase’s MCP server using Node.js (via npx). We're using the pydantic_ai library which provides a Python interface to MCP servers. The MCPServerStdio class spawns the server and communicates with the agent using standard input/output protocol. The server runs locally and makes API calls to Supabase on the agent’s behalf.
We launch and keep the MCP server running in the background with await server.__aenter__().
2. Converting MCP Tools to LiveKit Function Tools
The build_livekit_tools function performs the crucial task of bridging between MCP and LiveKit's function calling system. It:
- Fetches all available tools from the MCP server using
server.list_tools() - For each tool, generates a proxy function that:
- Accepts parameters that match the tool's schema
- Calls the tool with provided arguments
- Returns the result in the format LiveKit expects
- Adds proper type annotations, signature and docstring to teach LiveKit how to use the MCP tools. Without these, LiveKit won't know how to properly invoke each function.
- Returns the list of converted tools.
This conversion is necessary because while LiveKit natively supports tools through its function calling system (using Python functions decorated with @function_tool), it doesn't yet have native MCP support. MCP defines tools using JSON schemas, so we need to fetch these tool definitions from the MCP server and create corresponding LiveKit-compatible function tools (i.e. Python functions wrapped in LiveKit's decorator) to make them available to our agent.
To give an example, here's the list_tables tool definition from Supabase's MCP server:
ToolDefinition(name='list_tables', description='Lists all tables in a schema.', parameters_json_schema={'type': 'object', 'properties': {'project_id': {'type': 'string'}, 'schemas': {'type': 'array', 'items': {'type': 'string'}, 'description': 'Optional list of schemas to include. Defaults to all schemas.'}}, 'required': ['project_id'], 'additionalProperties': False, '$schema': 'http://json-schema.org/draft-07/schema#'}, outer_typed_dict_key=None, strict=None)And here's the equivalent LiveKit function tool which will get generated with build_livekit_tools:
@function_tool
async def list_tables(
   context: RunContext,
   project_id: str,
   schemas: List[str] = None
):
   """
   Lists all tables in a schema.
   Args:
       project_id (String):
       schemas (Optional[List[String]]): Optional list of schemas to include. Defaults to all schemas.
   """
   result = await server.call_tool("list_tables", arguments={"project_id": project_id, "schemas": schemas})
   txt = result.content[0].text
   return json.loads(txt)
3. Using the Tools in the Agent
Once converted, we pass the tools to our agent:
agent = Agent(
   instructions="You are a friendly voice assistant specialized in interacting with Supabase databases.",
   tools=livekit_tools,
)
Then, we call livekit_tools = await build_livekit_tools(server) to create the LiveKit function tool wrappers around the functions which will eventually make calls to the MCP server.
We've also updated the agent's instructions to indicate that it specializes in Supabase database interactions.
4. Setting up AgentSession
As stated above in our minimal example, we define our agent session by setting the pieces of our cascading pipeline:
session = AgentSession(
       vad=silero.VAD.load(min_silence_duration=0.1),
       stt=assemblyai.STT(),
       llm=openai.LLM(model="gpt-4o"),
       tts=openai.TTS(voice="ash"),
   )
We also start the session by passing the agent and appropriate context room and initiate an interaction with the user.
await session.start(agent=agent, room=ctx.room)
await session.generate_reply(instructions="Greet the user and offer to help them with their data in Supabase")
5. Cleanup on Shutdown
Finally, we've added a shutdown handler to properly close the MCP server. This handler is called by LiveKit when the Agent is shutdown for cleanup (denoted by the @ctx.add_shutdown_callback handler):
@ctx.add_shutdown_callback
async def on_shutdown(ctx: JobContext):
   await server.__aexit__(None, None, None)
   print("Shutting down MCP server")
Testing the Database Voice Agent
With this enhanced agent ready, you can now have conversations with it about your Supabase projects. To run the agent in development mode, you can use the following command:
python agent.py devIf all credentials are set up correctly, you will be able to talk to your agent in the LiveKit Agents Playground and interact with your Supabase projects.
For example, imagine you have a project named grocery-store, with a table called products, and a table called sales. You can ask the agent questions like:
- "How many users logged in last month in my
grocery-storeproject?" - "Who is the user with most sales?"
- "Create a
top_productstable with the 10 most sold products" - "What is the average revenue per month?"
- "Create a new record for customer John Smith in the sales table, who bought the product with id 123"
The agent will use the appropriate Supabase tools to fulfill these requests and respond conversationally.
Conclusion
In this post, we've explored building a sophisticated voice agent leveraging LiveKit's powerful agent framework, AssemblyAI's real-time speech transcription, and OpenAI's advanced language models. By integrating MCP and Supabase, we equipped our agent with robust database interaction capabilities, opening up endless possibilities for practical, voice-driven applications.
With this setup, you're now prepared to create intelligent, interactive agents that don't just converse naturally, but actively assist with real-world tasks. The flexibility offered by these tools empowers you to easily swap components or enhance functionality, making it a solid foundation for future innovation.
For those interested in exploring different backend options, check out the comprehensive Model Context Protocol Servers repository, which contains a variety of ready-to-use servers which let you interact with different platforms and services. You can easily adapt the code to use any server you like.
Now, it's your turn to expand upon this agent and bring your unique ideas to life!
Lorem ipsum dolor sit amet, consectetur adipiscing elit, sed do eiusmod tempor incididunt ut labore et dolore magna aliqua. Ut enim ad minim veniam, quis nostrud exercitation ullamco laboris nisi ut aliquip ex ea commodo consequat. Duis aute irure dolor in reprehenderit in voluptate velit esse cillum dolore eu fugiat nulla pariatur.
Related posts